


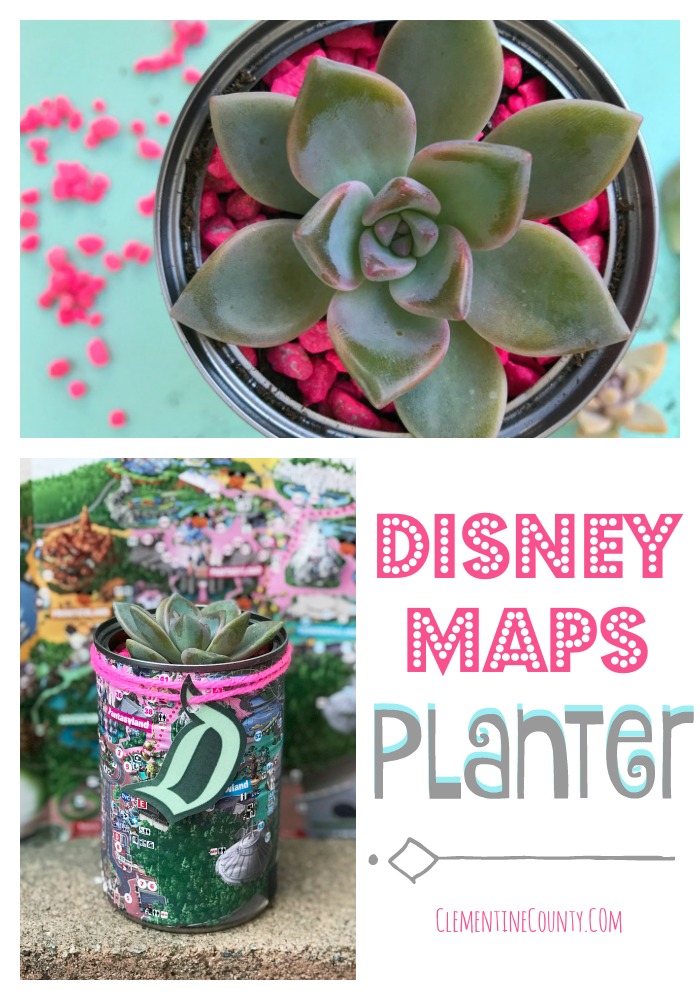
Home is where the heart is, and where we keep our ever-growing Disney collection. Our trips to the Disney parks have provided some of our happiest memories, and I love being able to commemorate them with different things throughout our home. But souvenirs can be expensive! Today, I’m sharing a simple DIY project using a complimentary Disneyland Park map. Here’s how to make a Disney Map Simple Planter. No green thumbs required.
All thoughts and opinions are my own. Please read my Disclosure Policy for more information.
Let’s be totally honest, I am not great with plants. In high school, I regularly patted myself on the back for taking such great care of my boss’s potted tree at my after-school job. I watered it whenever I remembered “Shoot, I haven’t watered that thing in forever.” But it seemed to appreciate my irregular watering schedule and relative abandonment. Then one day as I was watering, I accidentally knocked a branch. Oddly, the branch bent and exposed a teeny tiny bit of wire. I had been watering a fake plant. Not once, not even a few times. For like a yeeeeeear.
So when I say “No green thumb required” please intrepret that as “If this dummy can do it, so can I.”
But, the one plant I can manage to not screw up too terribly are succulents. After a “Plant Night” with my best friends, I felt even more confident with my planting ability. This Disney Map Planter is an inexpensive souvenir. Plus, it fits in perfectly with our Disney Living Room.
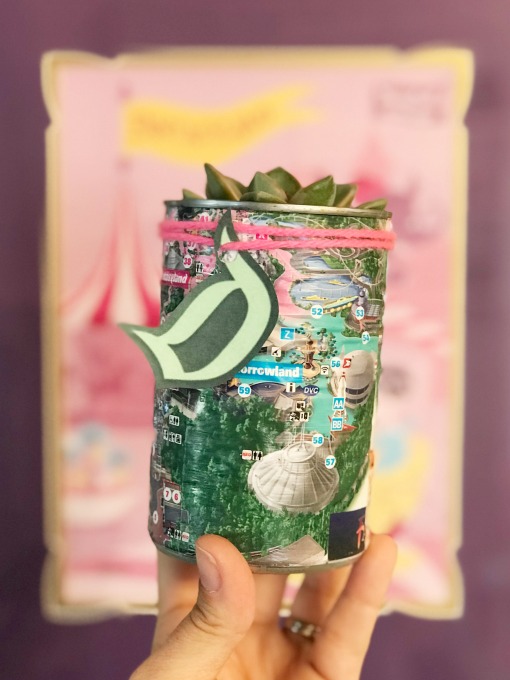
Turn the canned veggies your kids don’t want to eat into something super adorable: A Disney Map Planter.

How to Make a Disney Map Planter
What You’ll Need:
- Can
- Disney map
- Ruler & scissors
- Mod Podge
- Paintbrush
- Gravel
- Soil
- Succulent or other plant of your choosing
- Aquarium rocks (optional)
How to Make Your Planter:
The hardest part is getting your kids to eat the canned vegetables.
Remove original labeling from your canned goods and wash. You’ll be filling it with dirt so it’s not like it needs to be uber clean, but who wants their plants to smell like green beans. Unless it’s a green bean plant, of course.
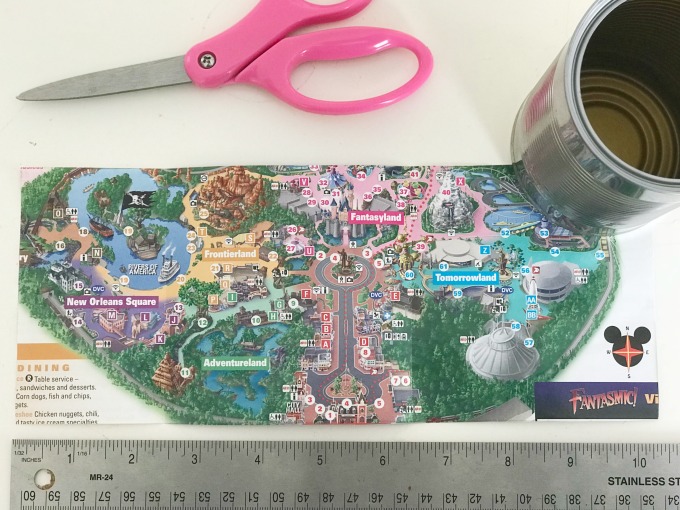
Cut your map to the appropriate height and length. A little extra length is good so you don’t end up with a seam of silver can shining through.
Once your can is clean & dry, apply a layer of Mod Podge with your paintbrush.
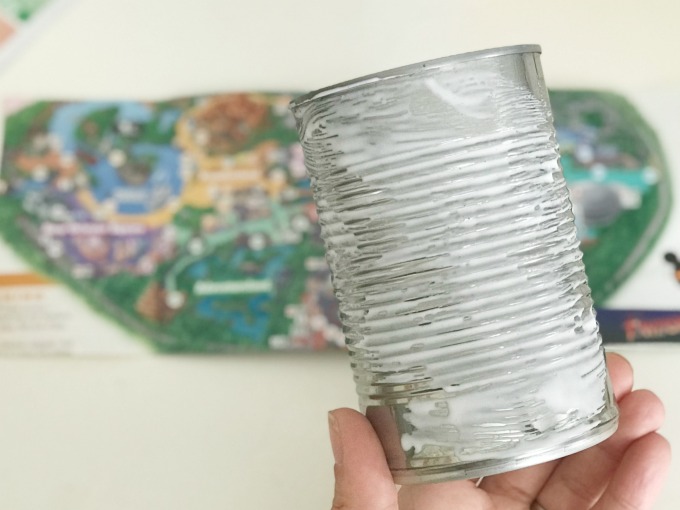
Carefully place your map on the can. Apply another layer of Mod Podge over the map. Make sure to pay attention to seams, including the top and bottom of the map. Let dry.
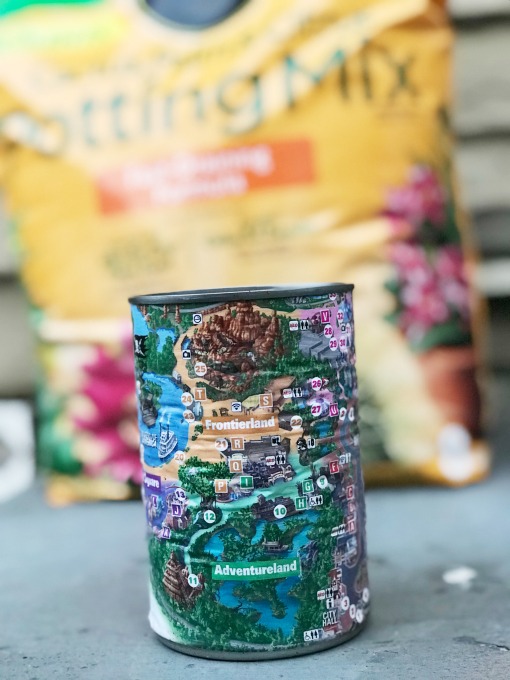
Once your can is prepped, add a layer of gravel and top with soil. I used a Miracle Grow potting soil made specifically for succulents and cacti.
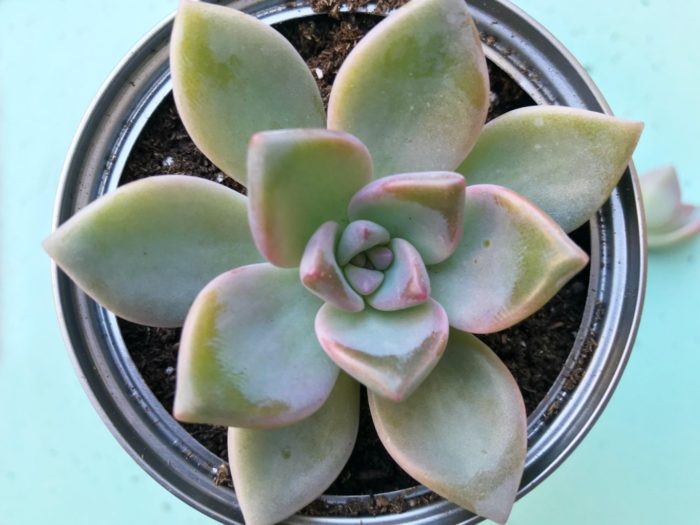
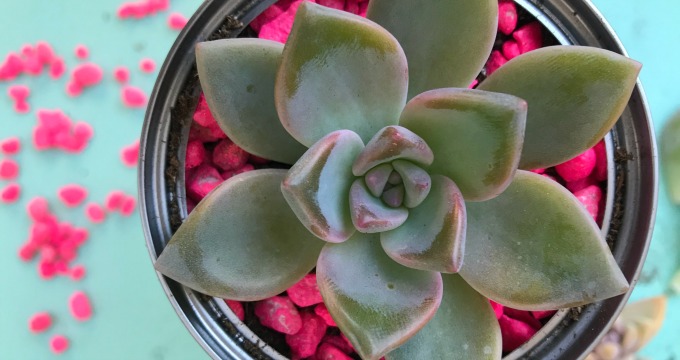
Plant your succulent or other plant. Remember that succulents don’t need tons of water when you’re planting it (or ever).

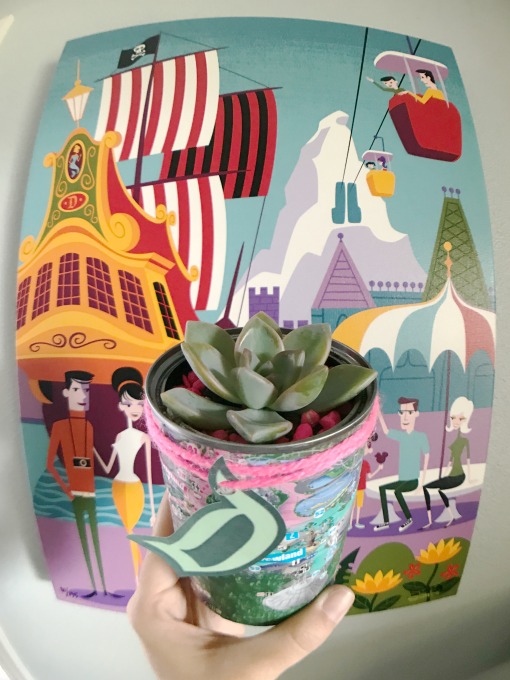
We added hot pink aquarium rocks. An entire bag was $2. You can also adorn your planter with yard, string, or stickers. I used hot pink yarn & a Disneyland “D” cut out of cardstock.
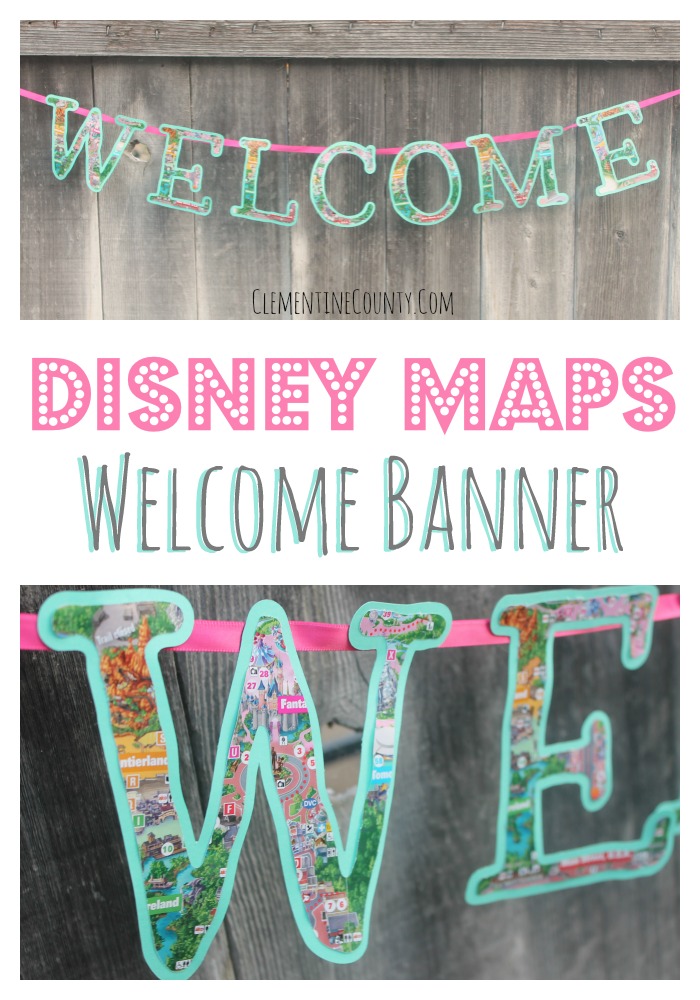
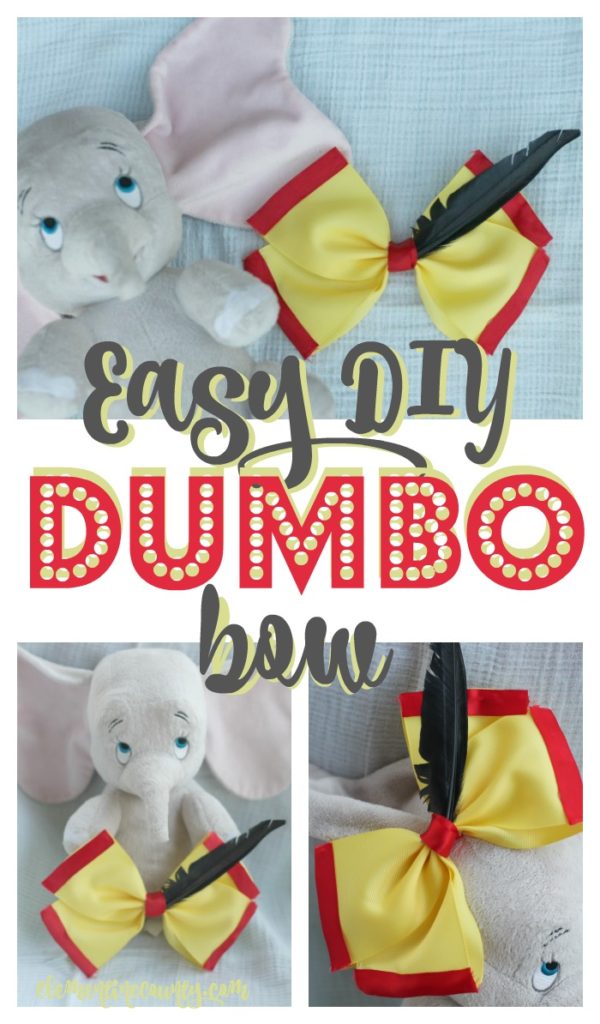
Looking for More Disney Crafts?
What free or inexpensive souvenirs have you brought home from Disney Parks?


These are such super cute ideas! I love the planter and the garland. I’ve never thought of doing anything like this before.
Thanks so much, Danielle! My preschooler has to have a map each time we visit (even though she knows where everything is). We’ve even up with lots of maps to craft with.
Oh now this is such a cool idea and what a lovely way to remember your holiday as well, everytime you walk past a plant. I wonder if you could do similar with tickets.
What a great idea! You could certainly apply your tickets using Mod Podge.
Spring is right around the corner! YES! What better way to ring in Spring, than to make your planter! This looks so cool!
What a great craft!! I love that you kept the map and incorporated into a display piece to you look at daily!!
What a fun craft this is! I wish I had saved some of our old Disney maps, what a fun idea.
This is such a cute idea! My girls would love to make one of these and might even eat the canned veggies just to be able to make one (they prefer fresh veggies). I love how you use the map, which most people wind up throwing away, to turn it into something special.
What a cute way to reuse a map and a can. And a neat little reminder of a trip to Disney. This would be a fun way to reuse a lot of travel maps!
I love this! It’s a great way to recycle the map into something useful.
Omg you were watering a fake plant all that time lmfao It totally sounds like something I would do!! 😛
This is a cute, little craft and a fun way to repurpose old items.
Okay that is super cute and it does look simple! When I read “simple,” I thought yeah sure right – nothing is easy for those of us who are craft challenged. I really think I can do this though! Thank you!
I have a green thumb and I love succulents. They need tender care though, if you over water it, they die.
I think that’s why I do well with them. A few ounces of water now and then are all they take.
Planters are such a fun craft. I love how easy they actually are.
Nice craft project for a cold winter day when kids are stuck inside the house. I like using a map, especially a Disney Park one, for covering the can. A green thumb up to this idea!
What a fantastic idea. So stinkin cute. And my kids love Disney, so this is perfect.
Spring is almost here! I can’t wait! What better way to welcome Spring, than to bring some new plants into your home? Love it!
I do love creative art ideas and this looks like a great one. Succulents aren’t hard to keep alive and are so adorable too.
This is so cute DIY. Would suggest this to my siblings. They will surely enjoy doing it with my daughter.
That is so creative. Thanks for sharing this brilliant idea. Love it. And I will share this to my sister. I think she’s going to love the idea too.
I love Disney map crafts – but I just cannot bring myself to cut those darn things!